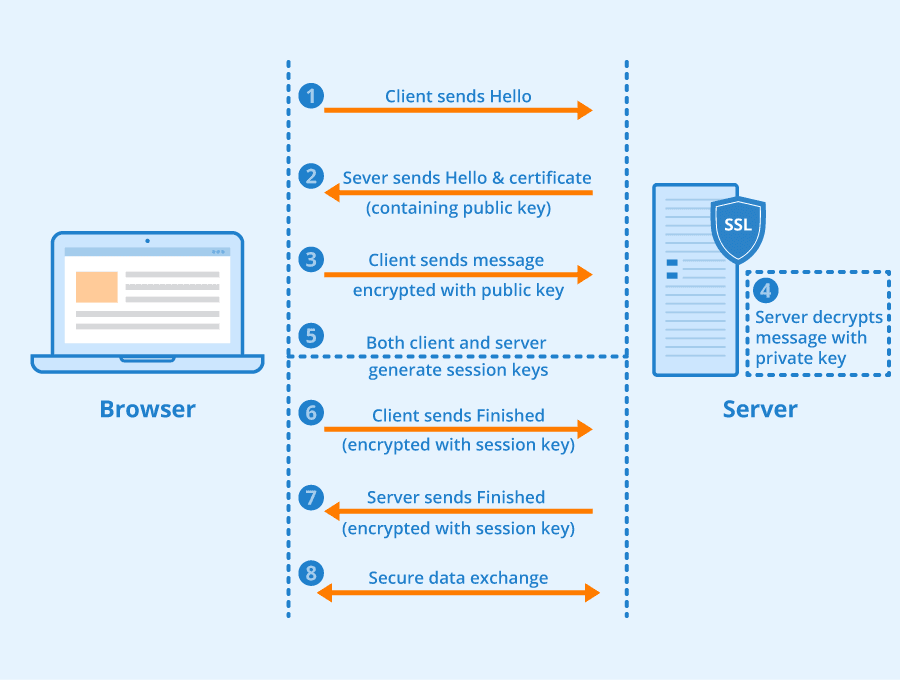
To install SSL on a XAMPP server using OpenSSL, you can follow the steps below:
Step 1: Install OpenSSL
The first step is to download and install OpenSSL on your system. You can download the latest version of OpenSSL from the official website and install it by following the instructions.
Step 2: Generate a Certificate Signing Request (CSR)
Next, you need to generate a CSR for your domain. You can do this by using OpenSSL. Open the OpenSSL command prompt and run the following command:
openssl req -new -newkey rsa:2048 -nodes -keyout yourdomain.key -out yourdomain.csr
Replace “yourdomain” with your actual domain name.
Step 3: Purchase or Obtain SSL Certificate
Once you have generated the CSR, you can purchase an SSL certificate from a trusted certificate authority or obtain a free SSL certificate from Let’s Encrypt.
Step 4: Configure Apache to Use SSL
In order to configure Apache to use SSL, you need to modify the Apache configuration files. There are two configuration files you need to modify:
a. httpd.conf
Open the httpd.conf file located in the C:\xampp\apache\conf directory and enable the SSL extension by removing the “#” from the line:
LoadModule ssl_module modules/mod_ssl.so
b. httpd-ssl.conf
Open the httpd-ssl.conf file located in the C:\xampp\apache\conf\extra directory and update the following lines:
SSLCertificateFile "C:/path/to/yourdomain.crt"

SSLCertificateKeyFile "C:/path/to/yourdomain.key"
Replace the path with the actual path where your SSL certificate and key are located.
Step 5: Restart Apache
Finally, restart Apache to apply the changes you made to the configuration files. You can do this by using the XAMPP control panel or by running the following command in the command prompt:
net stop apache
net start apache
Congratulations! You have successfully installed an SSL certificate on your XAMPP server using OpenSSL.
Related Products
- Comodo
PositiveSSL Certificate (DV)
₹1,450.00/year Select options This product has multiple variants. The options may be chosen on the product page


